
Uptime Kuma is a self-hosted monitoring tool that you can install natively or in a Docker container. It allows monitoring of various services and protocols such as HTTP, HTTPS, DNS, PING, TCP, SQL, MYSQL and more.
Uptime Kuma can notify admins of service outages using various methods such as Email, Telegram, Discord, Microsoft Teams and more.
I will demonstrate building and configuring Uptime Kuma in a Docker container since it’s lightweight and fast.
Step 1: Run a terminal session from the Docker host and run the Uptime Kuma container:
| |
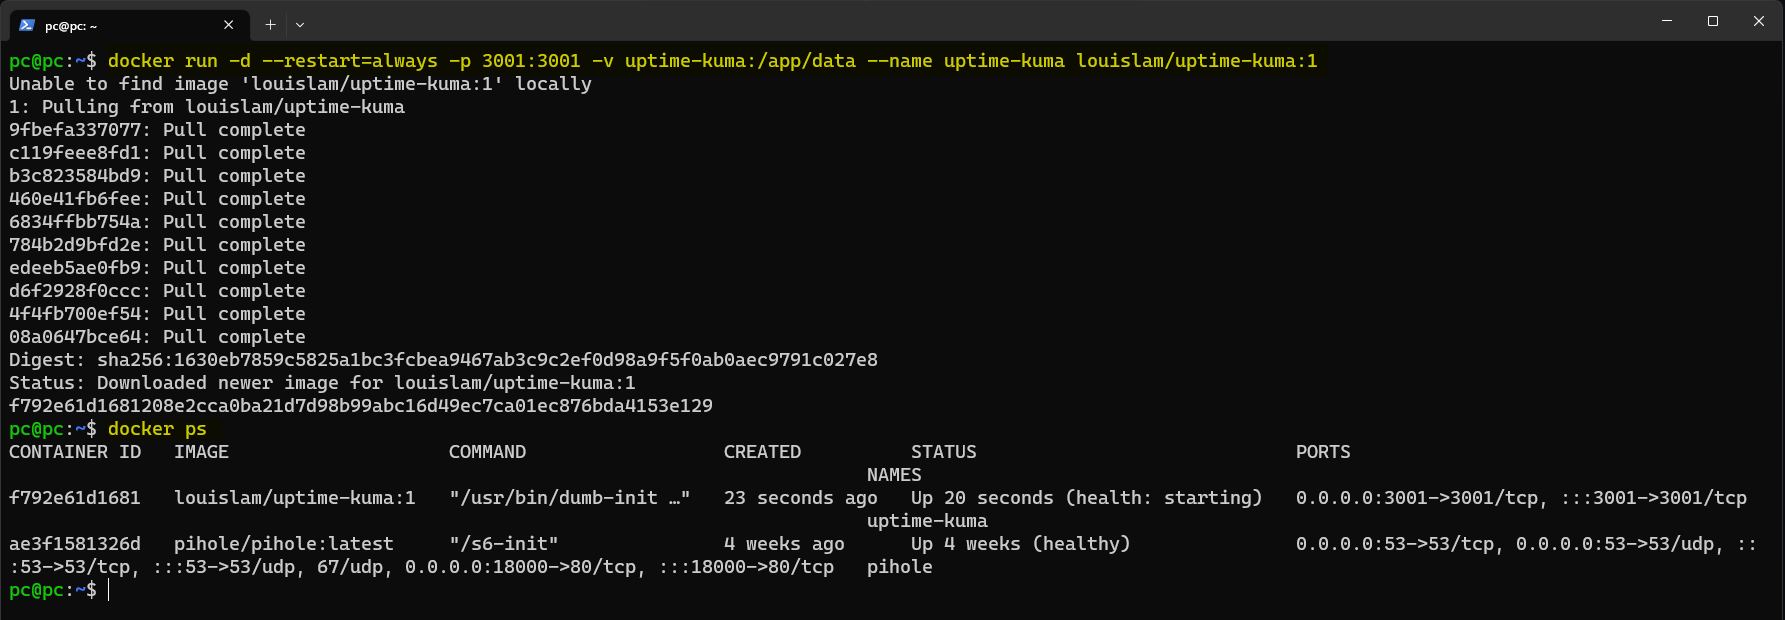
To verify the container is running and listening on port 3001, use this command:
| |
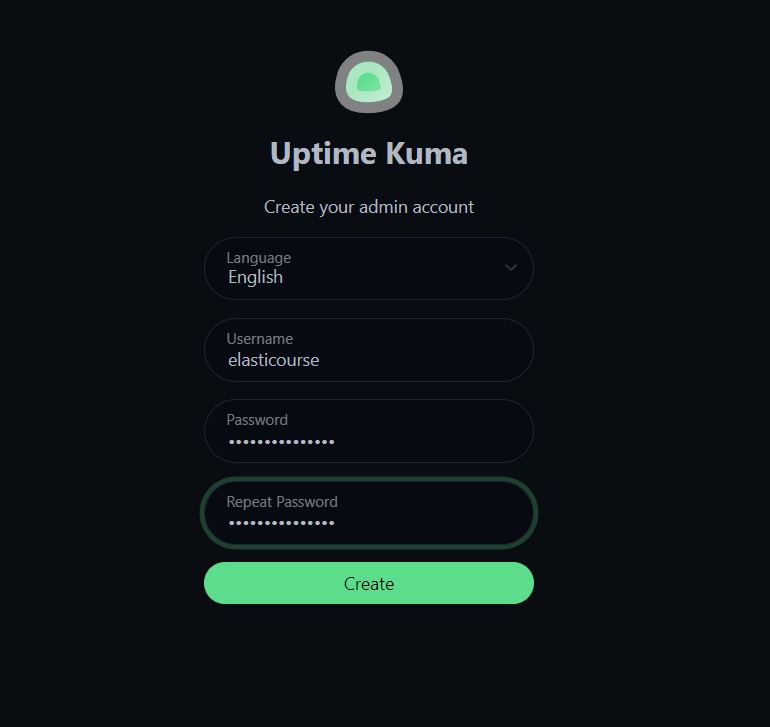
Time to test the GUI. I navigate to the Docker host IP and port 3001 in the browser. If browsing from the same device where docker is installed, you can use localhost or 127.0.0.1:
| |
Start by creating admin account
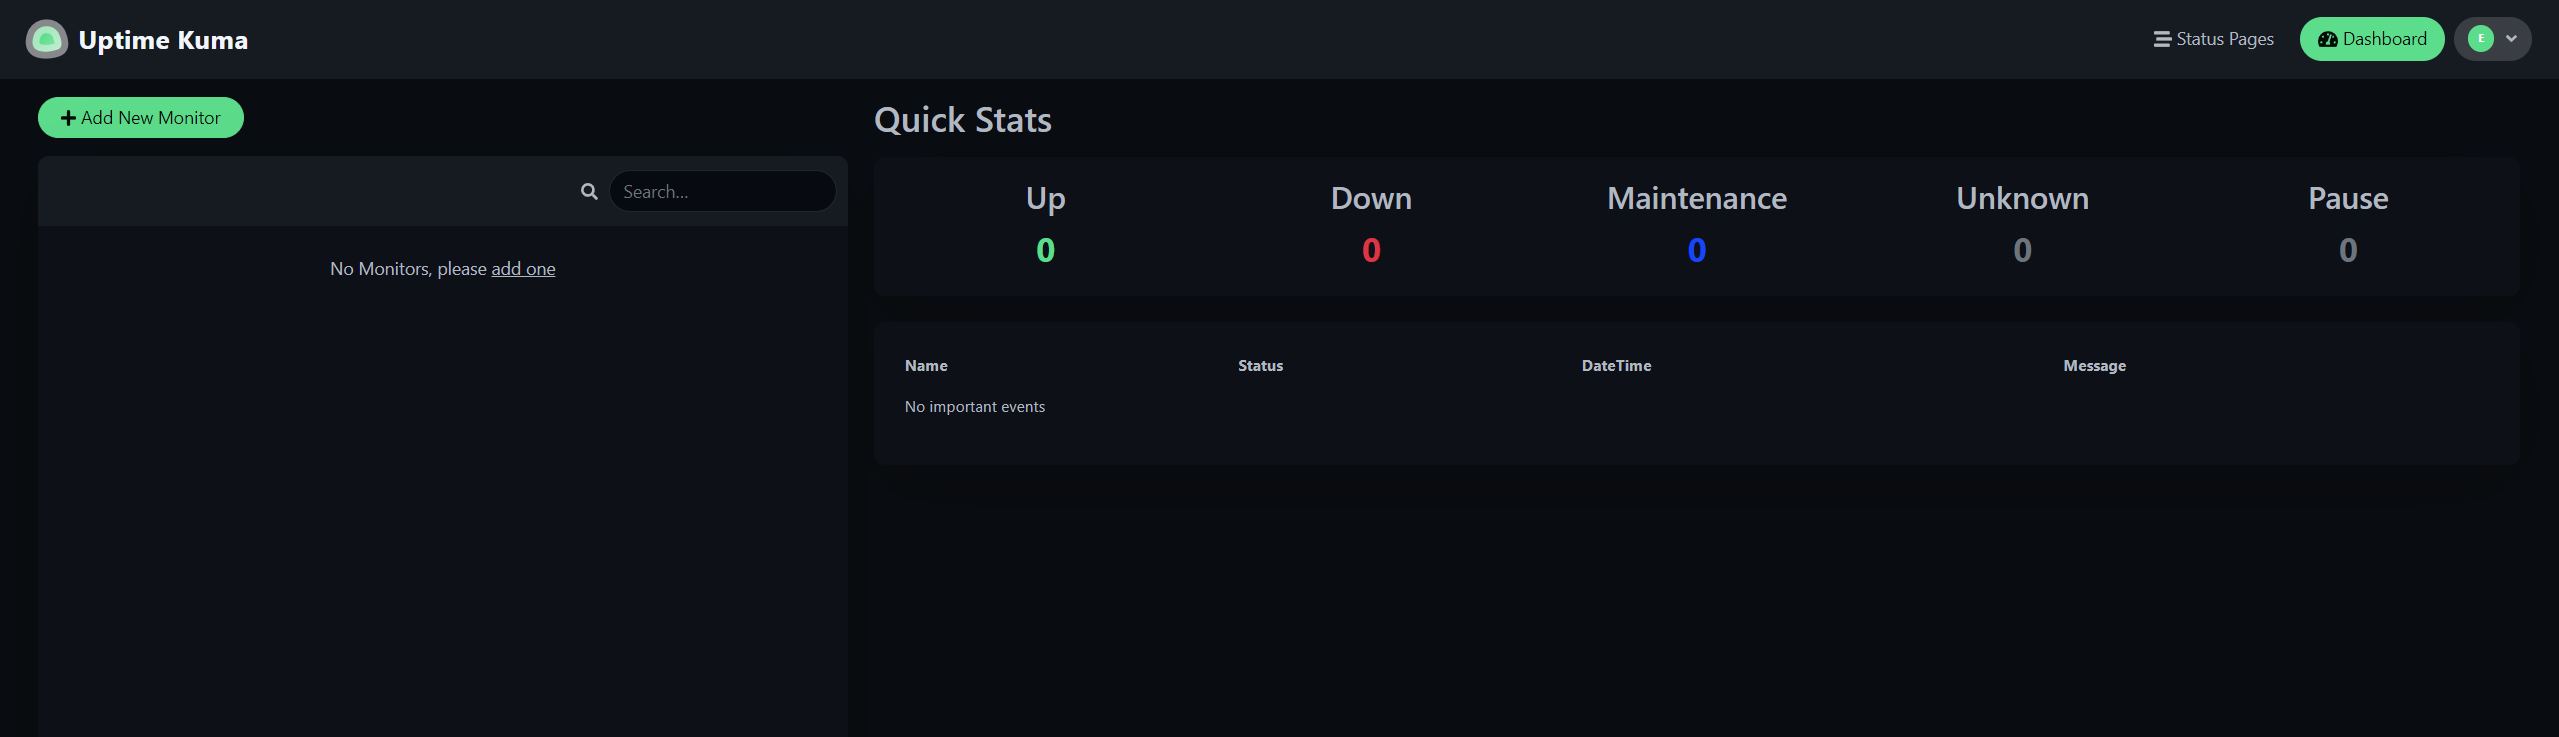
After you create the admin account, you will be welcomed with the fancy Uptime Kuma UI with no initial monitors
Start adding your preferred monitors, the following is a list of supported monitors in Uptime Kuma

I will create a simple HTTPS monitor to check the status of elasticourse.com. This monitor will send a GET request to the defined URL at the set threshold.
Make sure you don’t overwhelm your server with the default 1 minute interval option, I changed the interval to 600 seconds (10 minutes).
I can also choose HTTPS-Keyword option to make sure certain text from the web page is detected, instead of judging uptime based on status codes 200-299.

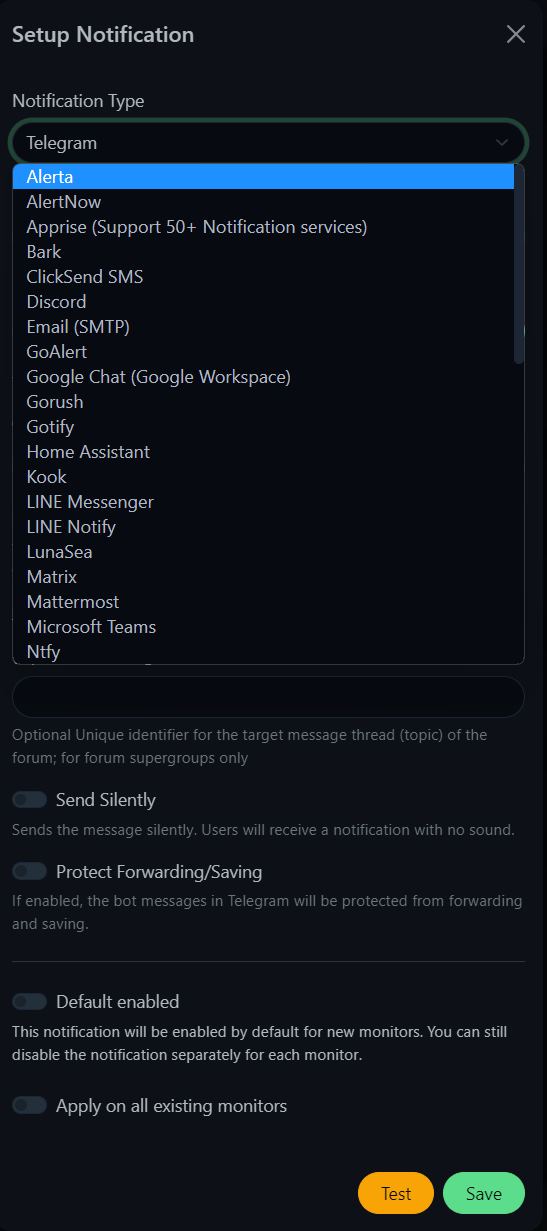
Now it’s time to setup the notification alerts. The following is a list of some popular notification and social media platforms you can integrate with Uptime Kuma:
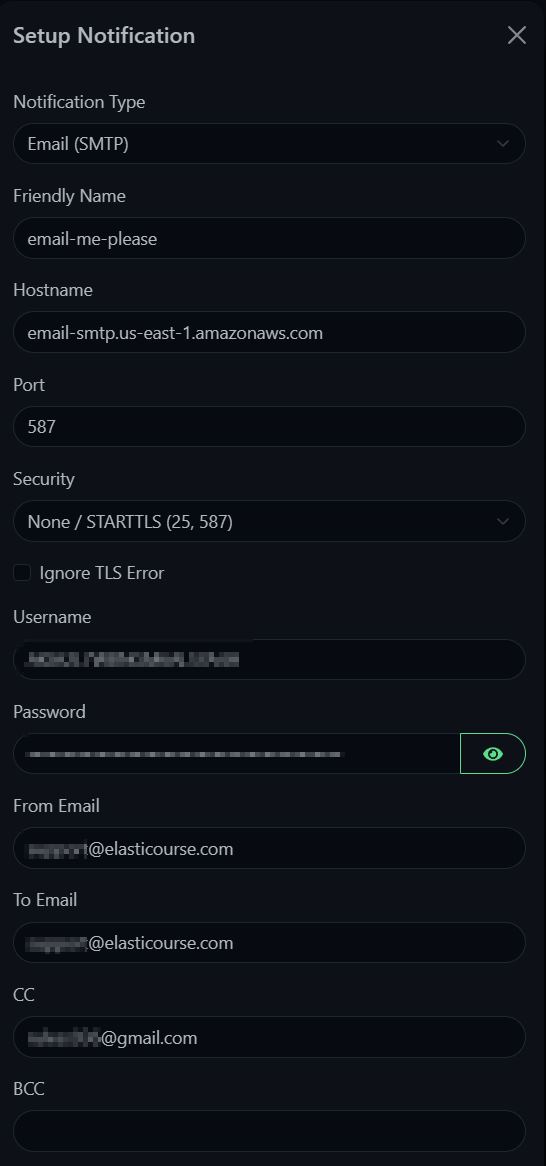
I will setup my monitor with email alerts. This requires SMTP server hostname, port, protocol, SMTP username, SMTP password, from and to email:
It’s a good idea to click test before saving to make sure Uptime Kuma can send the notification to the target email(s):

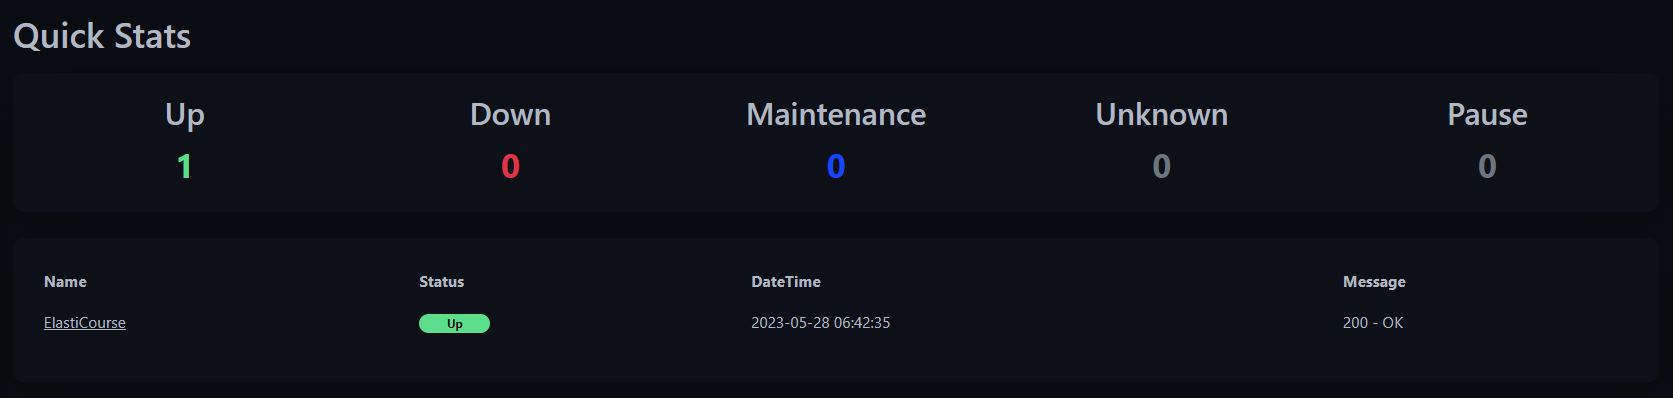
After that I saved my monitor and it started pulling data immediately:
After a few monitoring checks you will have better idea of website response time and some visualization:

Note: to monitor sites with self-signed or built-in certificates, enable Ignore TLS/SSL error for HTTPS websites in the monitor settings to bypass certificate check.