GNS3 is one of the best free network emulators I have used. I built complex network topologies with multiple network appliances with ease while I created my network courses. The software is available for Windows, MacOS and Linux. There is a library of appliances you can use, as well as support for Cisco IOS images, QCOW2 images and Docker images to use in your network lab. GNS3 is broken into two pieces: a server to install on the host machine, and a virtual machine to provide the best performance for your complex labs.
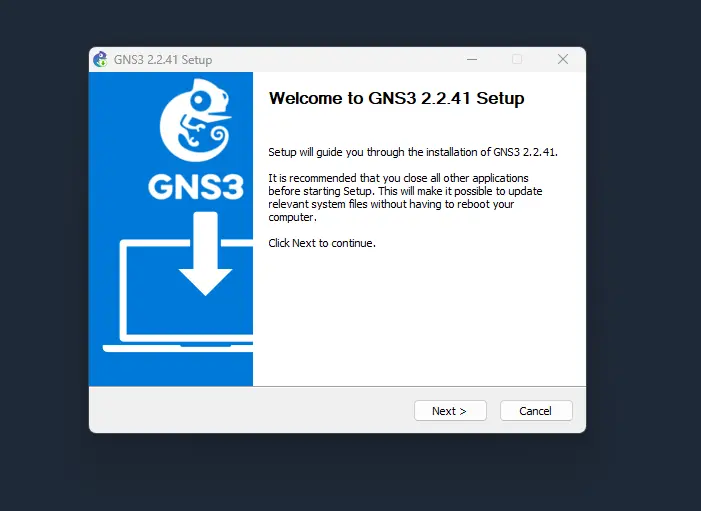
Follow these instructions to install GNS3 Network Emulation Software in Windows 10 & 11.
GNS3 Server
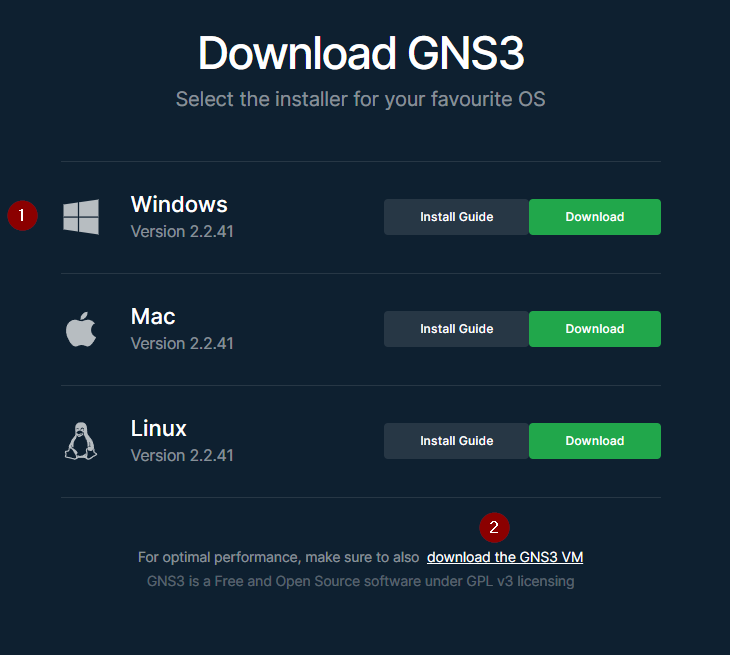
- Open the official GNS3 website and click
Free Download. You may need to register/login.
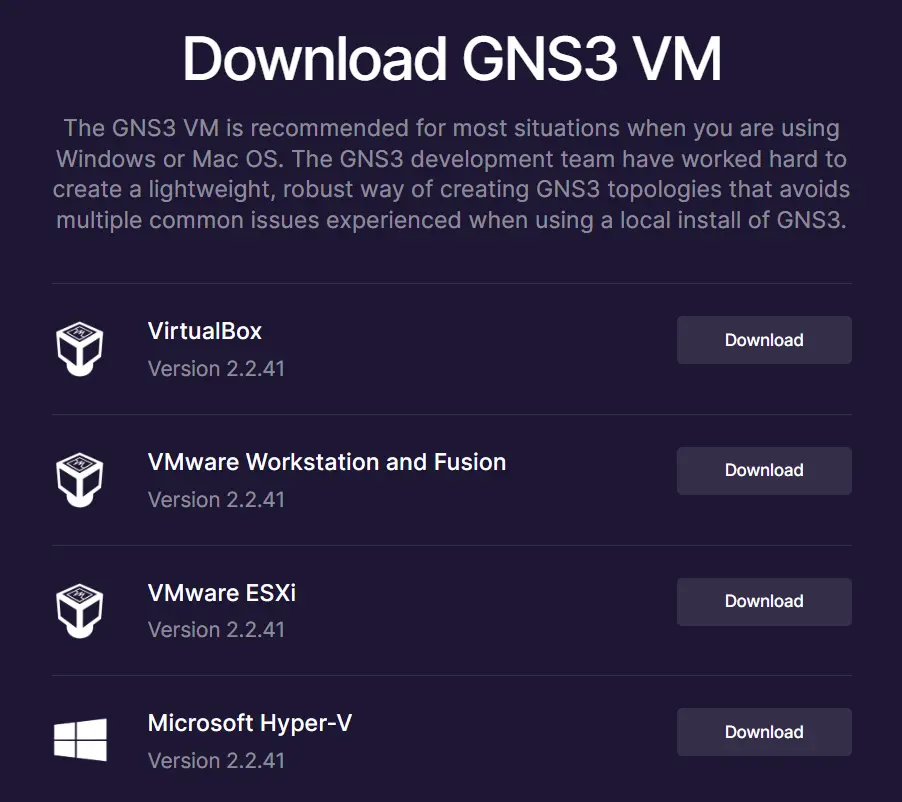
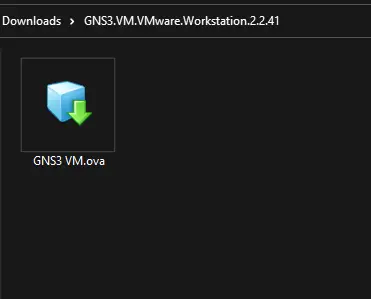
- Download both GNS3 installer and GNS3 VM. Both components must be installed for optimal performance.
GNS3 Virtual Machine
- GNS3 VM is available for many hypervisors depending on your preference.
- VMWare Workstation (Recommended) is now free for personal use, as well as VirtualBox.
- Hyper-V is included for free if you have Windows 10 or 11 Pro edition, but need to be enabled in the Windows Features.
- Install GNS3 application client first. Unselect
Start GNS3at the end of the setup.
Optional: for Windows 10 and 11 users: you can Unselect
Tools > WinPCAPsince it’s no longer needed.
- Import GNS3 VM into your hypervisor, the following example shows the specific instructions for VMWare Workstation using ova file.
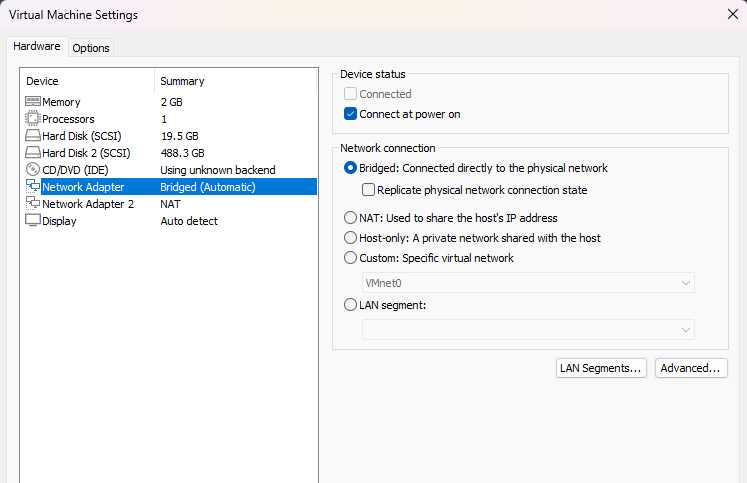
- Edit VM settings network adapters:
- change first Network Adapter type to Bridge
- change Network Adapter 2 type to NAT
VMWare Networking
Here is a summary of how networking works in VMWare workstation:
Bridged:when you assign your virtual machine a bridged network adapter, you are allowing the VM to get its own unique IP, separate from your host machine IP, assuming your Windows IP is 192.168.150.212, the VM will get the IP 192.168.150.213 or so. Same network subnet, but with a different IP. This network adapter is best for performance.NAT (aka vmnet8):when you assign your virtual machine a NAT network adapter, VMWare will be a generating a private subnet local to your computer like 192.168.27.0/24, and will assign IPs from this subnet to your virtual machines using VMWare DHCP server. When traffic originating from NAT subnet tries to leave your computer the source IP will change to your Windows IP (NAT translation/SNAT) (Find out yours from WMWare under Edit > Virtual Network Editor > VMNet 8)Host-only (aka vmnet1):when you assign your virtual machine a host-only network adapter, VMWare will be a generating another private subnet local to your computer, and will assign IPs from this subnet to your virtual machines using VMWare DHCP server. When traffic originating from host-only subnet tries to leave your computer, it will be dropped (Blocked) (Find out yours from WMWare under Edit > Virtual Network Editor > VMNet 1)
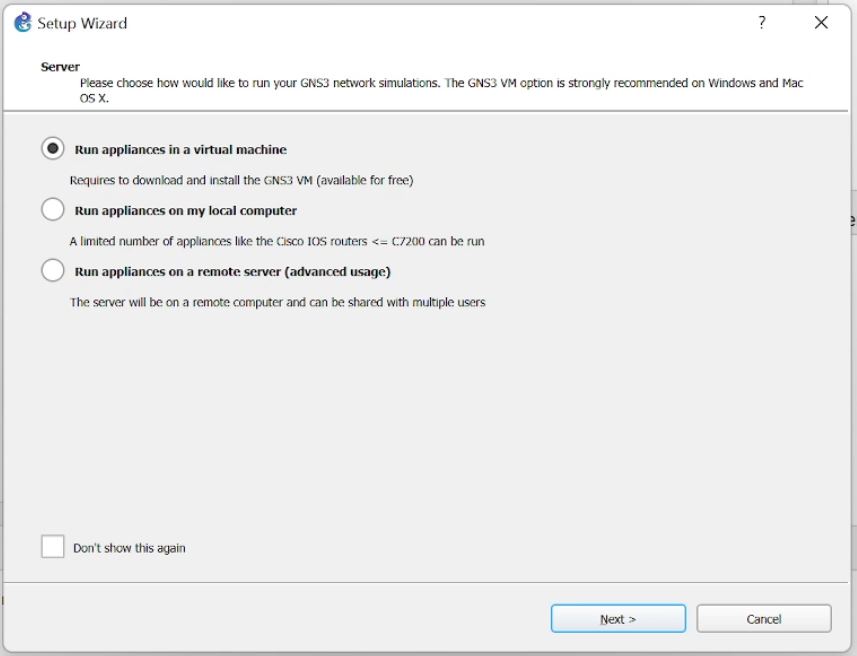
GNS3 Setup Wizard
- Search and start GNS3 application, choose to run appliances in a virtual machine (GSN3 VM) for best performance.
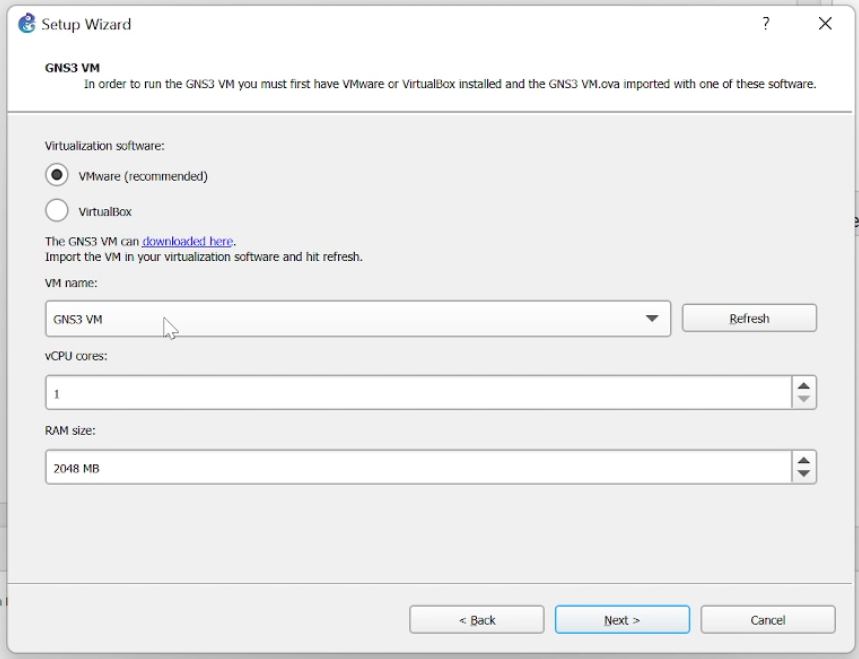
- Choose your hypervisor and VM name, in most cases GNS3 will automatically detect VM name, then adjust CPU cores and RAM based on how big of a lab you are trying to build, for complex labs with multiple devices and servers I recommend at least 4 CPU Cores and 8 GB of RAM, GNS3 will update VM settings and start/stop VM automatically for you.
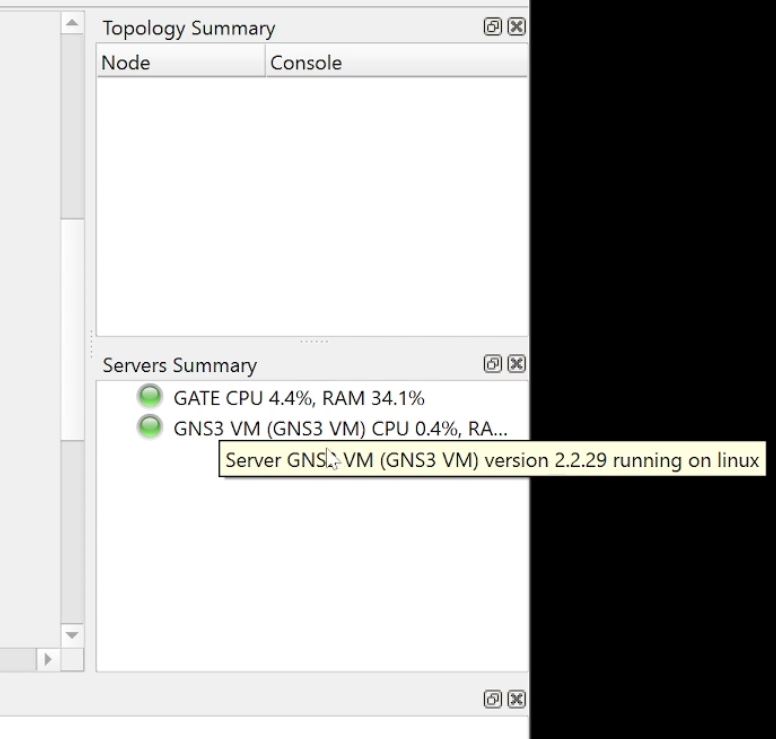
- Once the VM is up and running, GNS should show you that both client and VM are up under servers summary.
GNS3 Appliances
Now start adding appliances to GNS3 inventory and build your lab. Please only use licensed or free appliances and avoid pirated software found on the internet. If you need to use Cisco software legally, you can subscribe to Cisco VIRL. Similar subscriptions are available for other vendors, or just use FOSS!